|
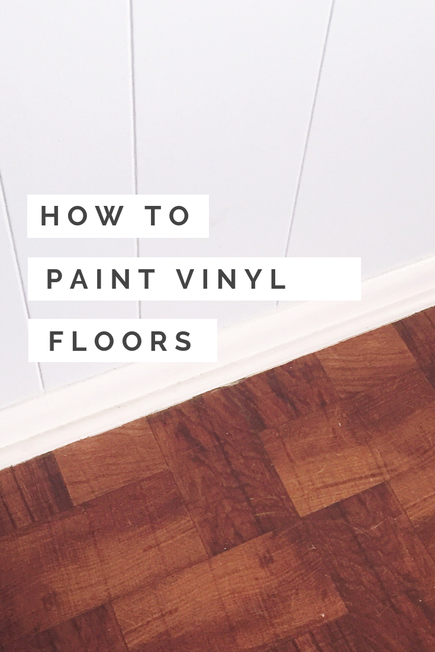
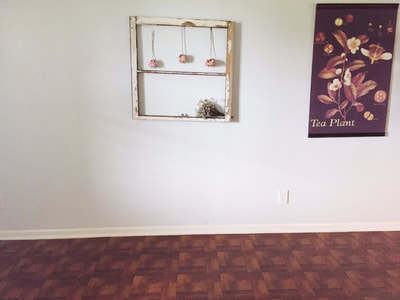
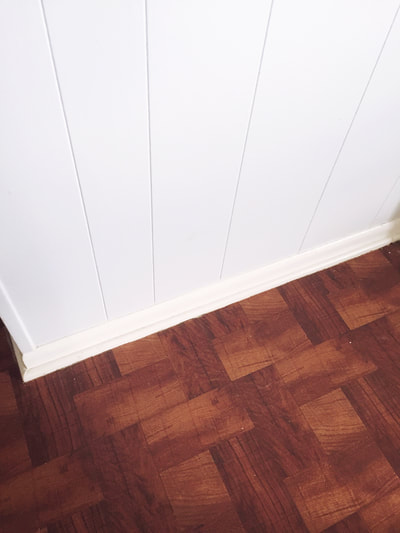
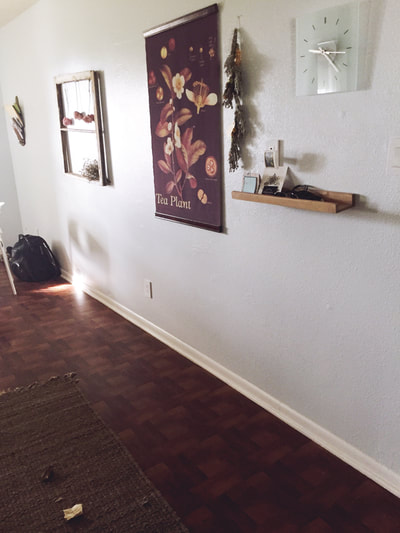
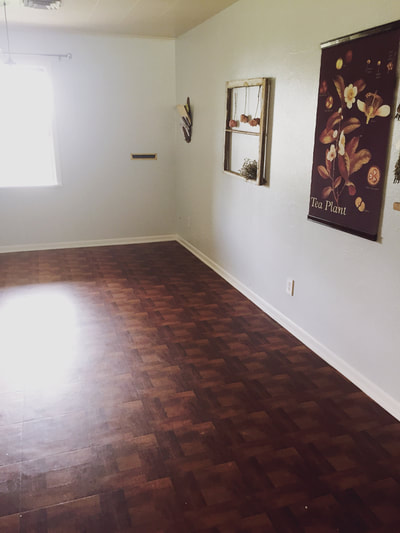
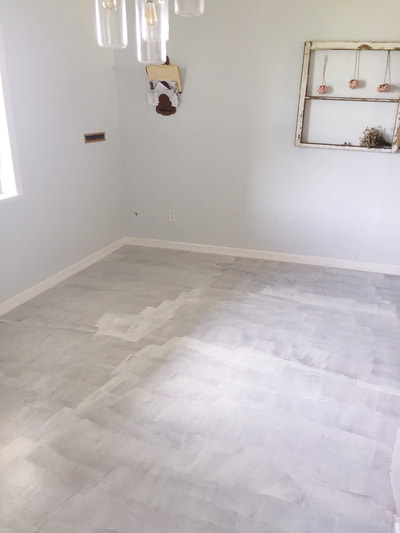
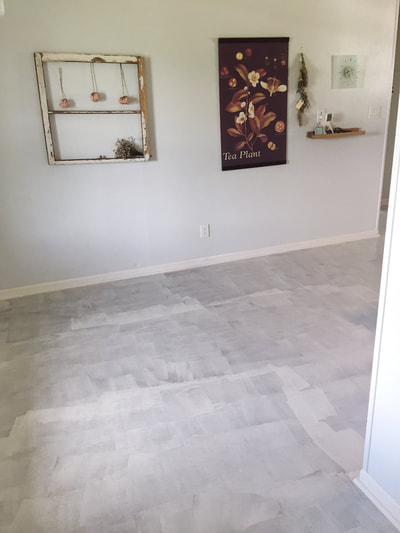
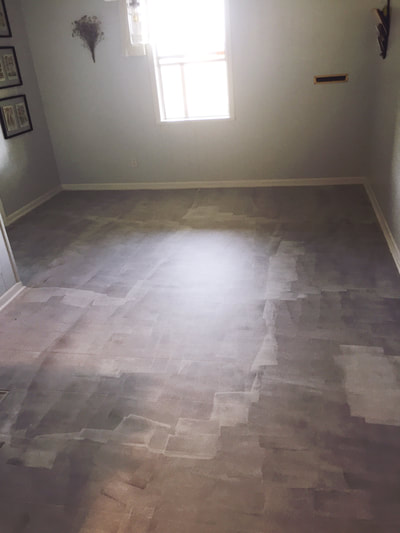
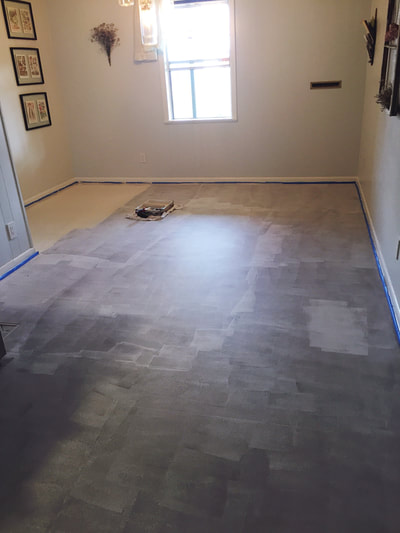
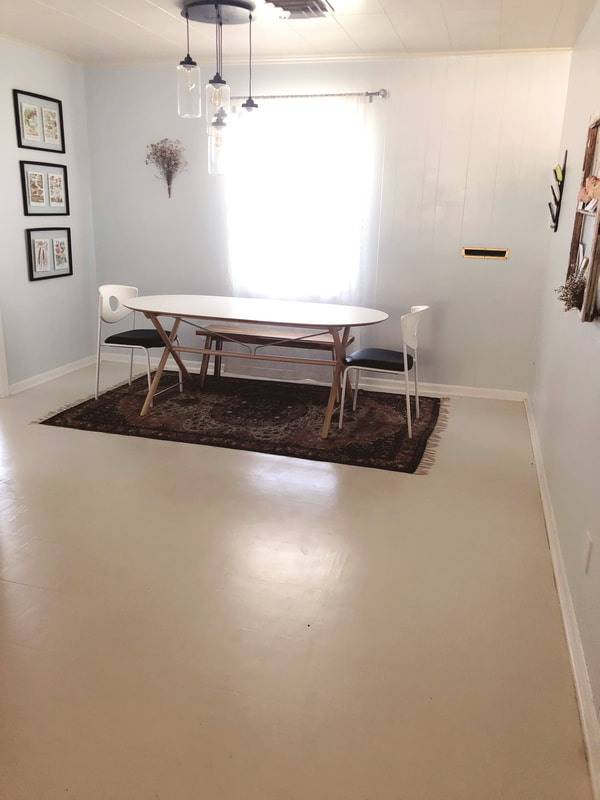
Learn how to paint those ugly vinyl floors in this easy, step-by-step guide. For me a kitchen is a room that should represent happiness. But what do you do if you have a kitchen that doesn't make you smile? Well that's what our kitchen was like. We bought our 1965 home and loved that it had a retro feel but it needed lots of updating and paint. About one month into moving in we started by painting the walls from a yellow/cream to a soothing light-powder blue. Then the baseboards which were also yellow/cream. I don't have many pictures before we painted the walls because I hated the walls that much. For awhile I was okay with the kitchen, it felt brighter and cleaner than before but it still felt dark. Since our home is older there are not as many windows as I would like, thus making every room darker compared to modern homes. The floors had to be next. I decided not to pull up the floors, letting the concrete slab show (which I love) because under the faux-wood vinyl flooring, was more vinyl tiles glued down with asbestos. Removing asbestos flooring can be dangerous, expensive and time consuming. Kitchen floor before it was painted: These photos are during THE PROCESS. 1. Clean floors really well. I vacuumed and mopped the floors multiple times and made sure there wasn't dust that would cause the primer not to stick. 2. Paint the floors with a sealer and primer. I painted the floors first with KILZ 2 - multi-purpose, interior/exterior, primer + sealer. I choose this one because of it hides colors well, it blocks stains and is used indoor and outdoors. This part was THE SMELLIEST. I have seen odorless primer/sealers and if I did this again I would seriously look into that because it was bad. Even with it being cool outside and all the doors and windows open, it smelled for at least 24 hours. 3. Tape off baseboards. I did this after I painted with KILZ because my baseboards are white like the KILZ and it didn't matter if it got on the baseboards. But this step could really be done before you cleaned the floors. 4. Paint the floor with porch paint. After the floors dried from the KILZ layer, about 2 hours, I painted the floors with porch paint. Porch paint comes in already made colors like grey, brown and white or you can make a custom color. I went with a custom color since the floors were already brown, my walls are so light they seem white sometimes and my cabinets are grey. I did two layers of porch paint since the custom color I picked was a very light cream. 5. Seal the floor. I used a cleaner/shiner floor finish brands like Mop & Go or Quick Shine work great. TIPS. Start when you have at least one full day, I recommend two. Every few months go over with a product like mop and go to help protect the floor from scratches. Paint when the weather is nice, when you can open all your doors and windows and not worry about the heat and bugs. I absolutely love the after result. You can see the texture of the vinyl flooring but I really enjoy the added texture. The only problem with this floor is if something is dragged along it, like chairs before we put pads under them, it scratches. I took these after photos when the floors where dirty, I wanted to show how they look when people actually live in a home. After one year it held up nice. There were some scratches from chairs and things being dragged and a few scratches from my dogs nails. But easy fix, I just went back with a brush and covered up those lines. Then I went over the porch paint with a shine floor finish. This project was fun and well worth the two days of prepping and painting.
Hope you enjoyed my story + photos. Please comment with any questions and your story. xx Abby Cone Comments are closed.
|
AuthorHi again, it's Abby Cone. Here you will find: tricks & tips, products I love, DIY's, before + after and interviews. Categories
All
|
© 2024 Organizational Logistics LLC

