|
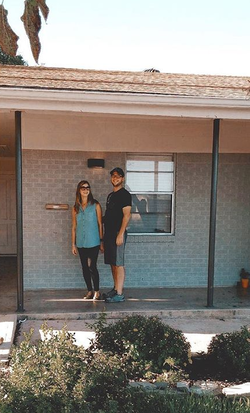
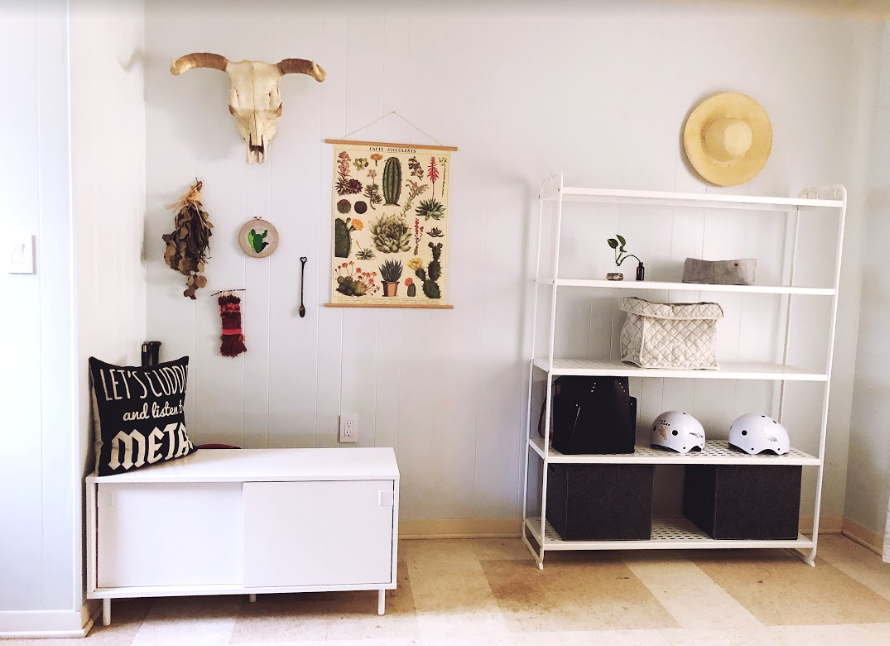
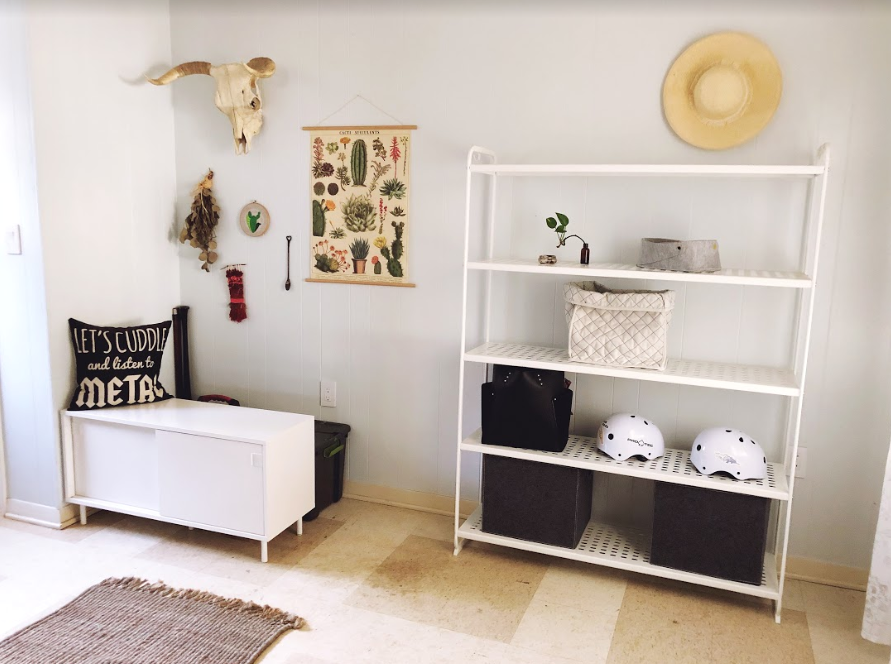
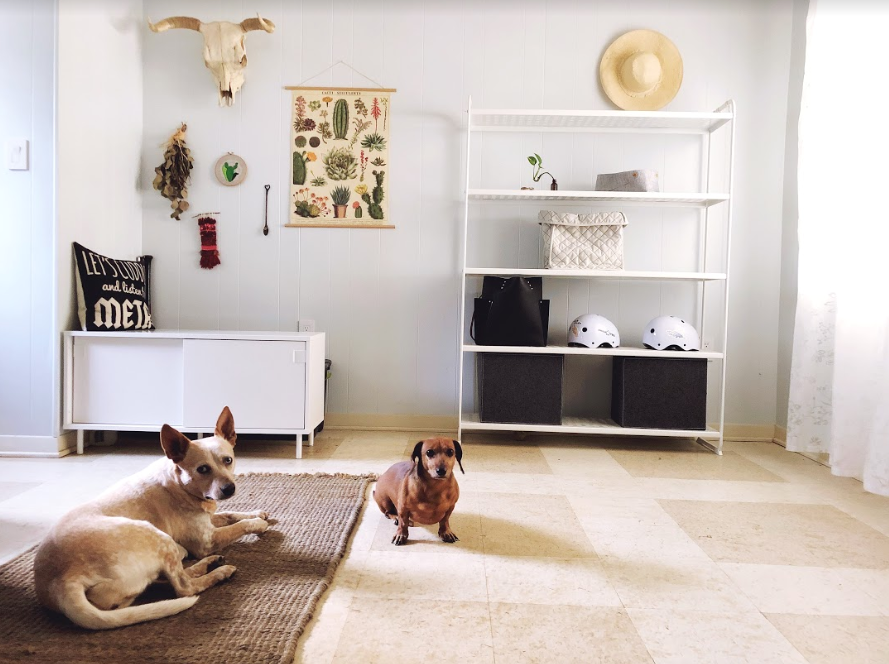
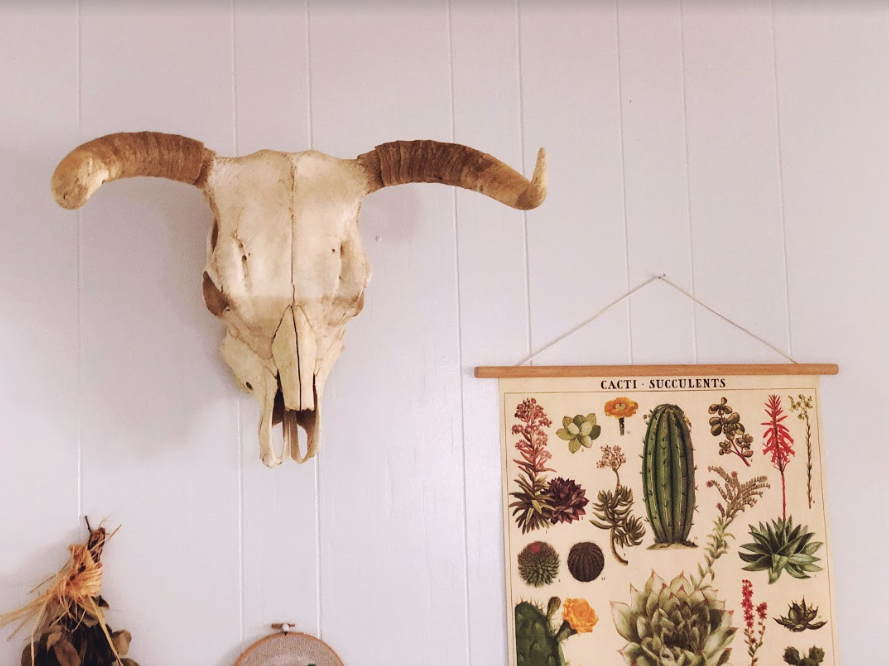
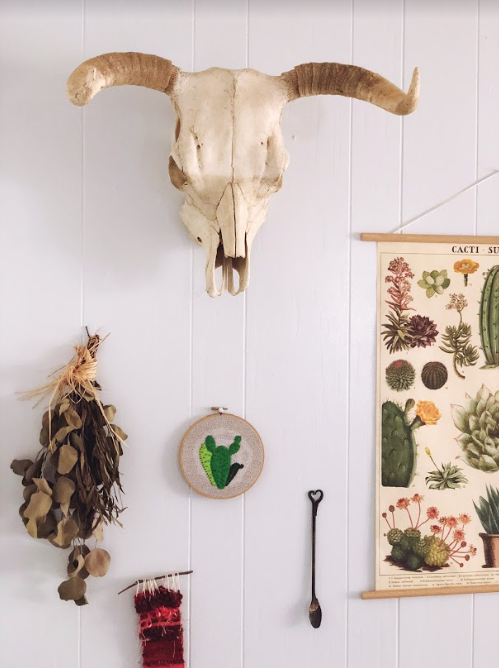
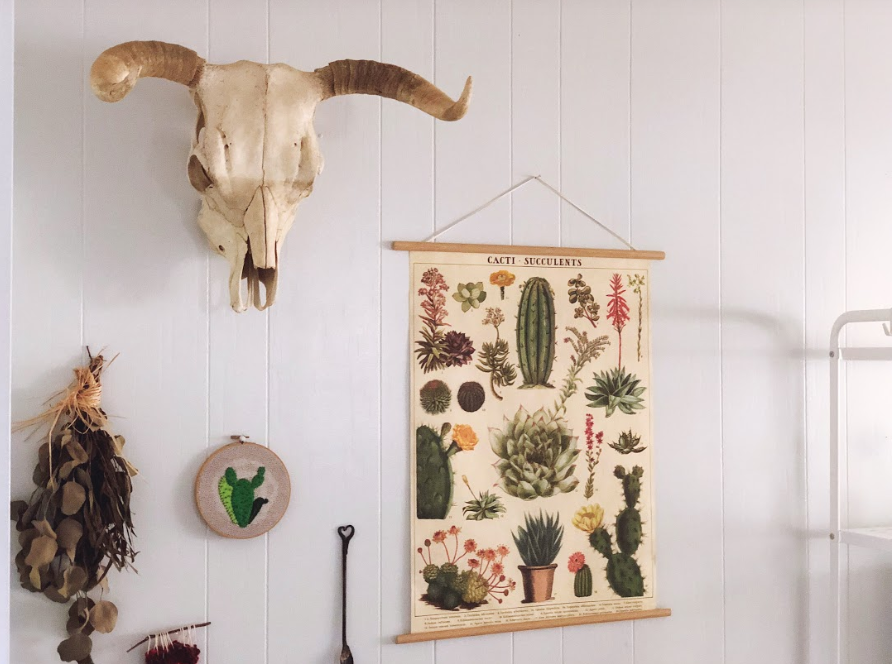
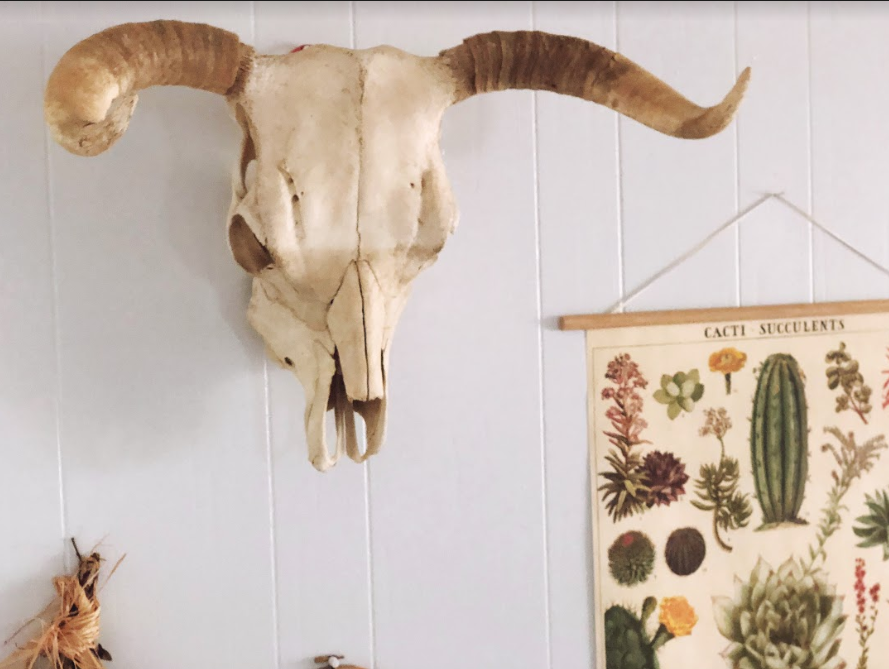
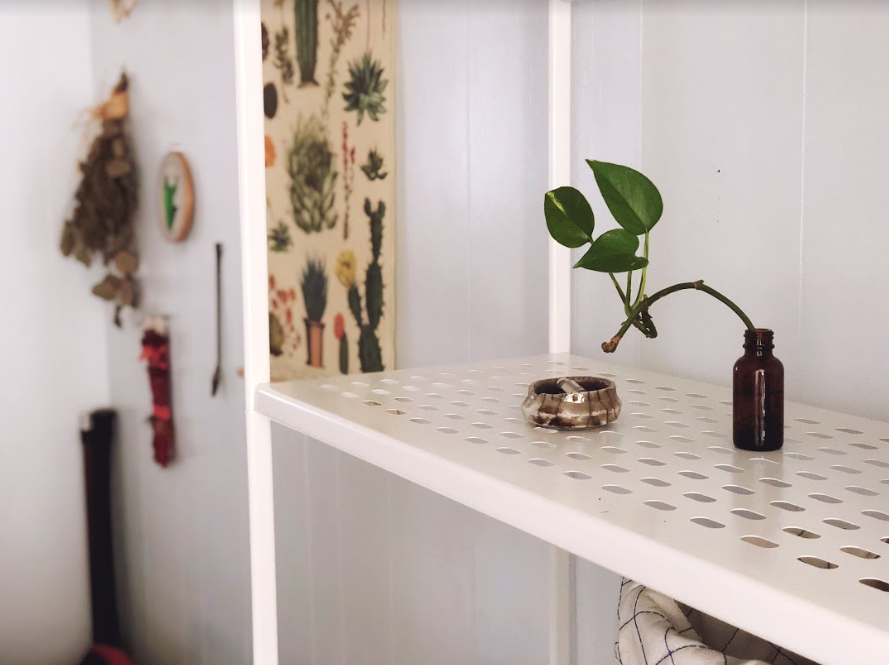
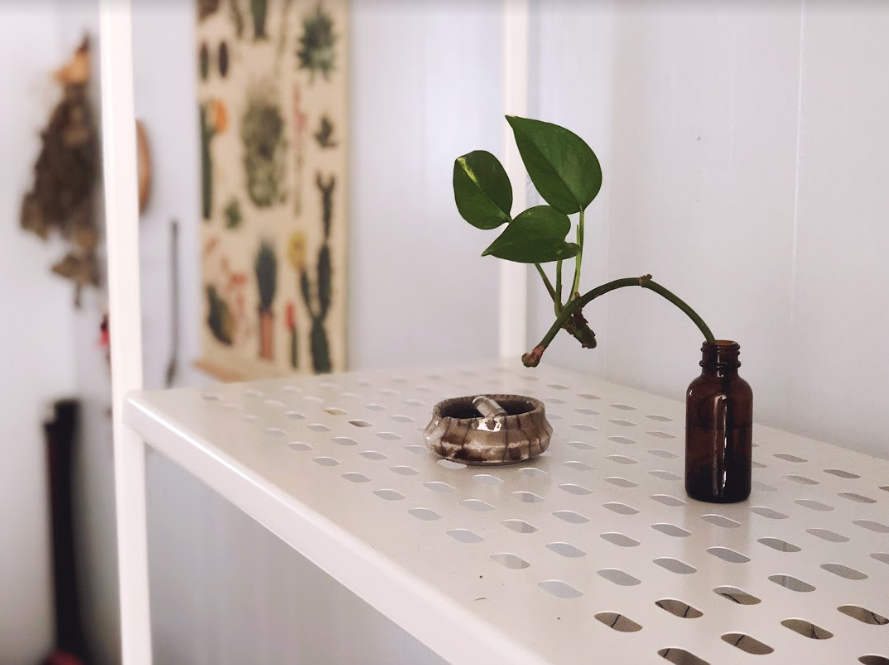
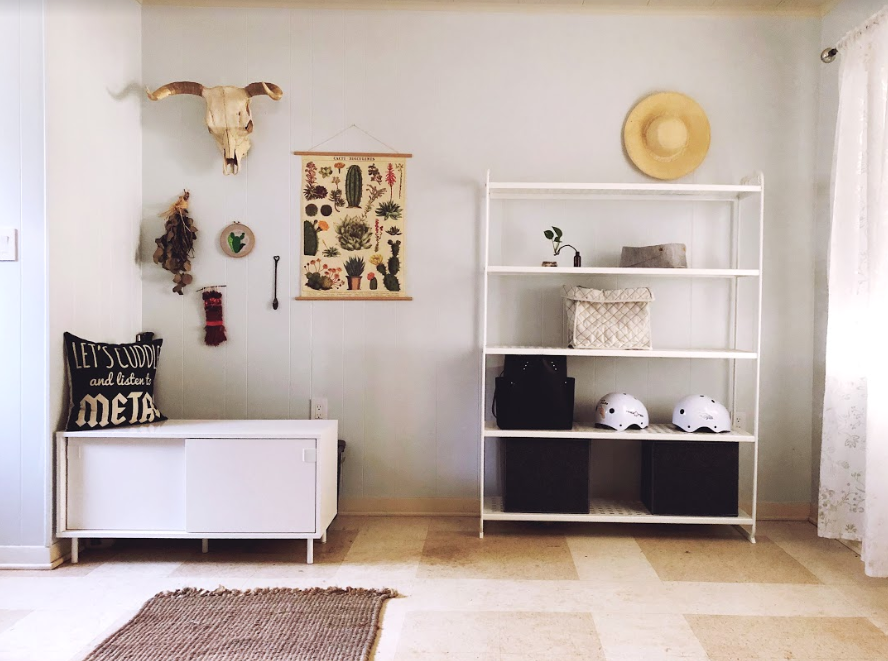
This is a step-by-step guide on how to pick storage for your mudroom. The experience of transforming a space in your home should be positive. These transformations are built so you can get + stay organized, spend less time looking for misplaced items, enjoy walking into your space and help create an environment that reflects your personal style and mindset. Have you ever walked into a room and thought "something feels off," well that is exactly how I felt about my mudroom. Every time I walked into my mudroom/laundry room I tried to make it as quick as possible, going in there just wasn't a positive experience. To say I didn't enjoy going in there would be putting it lightly. I would walk into the room and stand there, thinking "How can I make this better?" A LITTLE BACKGROUND This is my husband and my first home, an adorable fixer-upper built in 1965, literally every room in the house needed work. Since this room is towards the back of the house and I can just shut a door and not see into it, it went a good year plus without getting lots of attention. After moving in I painted the walls, cabinets, doors and baseboards. Painting made the room brighter and more inviting but it still felt empty yet congested. After many trips of walking in and out of the mudroom, it hit me, STORAGE was the problem. This space is very large and there was plenty of walking room but items weren't stored properly and since it's an older home there was little to no storage. How to add storage1. Declutter + make piles. Get rid of all that does not serve you. Sometime this step can be the most difficult, but trust me it is VERY important. While decluttering ask yourself: when do I use this, how often is this used, how do I feel when I look at this item, how do I feel when I pick this up? Really think about your lifestyle when decluttering. Making piles for keeping, selling, tossing and recycling. 2. Layout + list everything that needs to be stored. With the items you are keeping, put liked items together and/or multiples of items together. This is a great way to see exactly what you have and the quantity of each item. Make a list of all your items include how many of each you have. Example: towels 3, purses 2, keys 1, wallets 2, hats 5, etc. Knowing the number & type of items + your preferred design helps narrow down what storage solution products you need to buy. 3. Design + layout. Find out what design you like. Would you like open shelves with baskets? Cabinets? Pegboard with hooks? Pinterest or Houzz is great for ideas if you are feeling stuck on choosing a design. Once you have an ideal design, see how it will work with your space. Take into consideration if you will need to hire a pro to install wall cabinets. I like to combine storage ideas in design. I like open storage units with closed boxes of different textures and sizes, I think it's fun and it gives the eye something interesting to look at in a room. Boxes are a great way to add your own style and character to a room, think of all the different patterns, colors and textures companies now make in boxes. Endless designs! This design is great if you like to show off your personality with colors or if you like to change colors in your home with each season. If you like a more clean and minimalist look, closed cabinets might be best for you. 4. Measure the space. This is a simple yet VERY IMPORTANT step. Measure the space, remember to include the space baseboards take up. I am not the best at measuring, so I like to measure at least twice. *Pro Tip: take photos of your space. The photos will come in handy when you're in stores shopping. 5. Buy supplies. This is probably the hardest and most daunting step. But having all the measurements, photos, list of items and design picked out ahead of time it will make this step a piece of cake. If you are buying boxes for open storage, measure the boxes to ensure they will fit in your new storage unit. *Pro Tip: bring a measuring tape while out shopping. 6. Assemble items. This step is really for units that are not installed into the home's structure/walls, like standing cabinets and shelves. Assembling products, especially from IKEA, are time consuming, if you get frustrated take a break. Remember this is suppose to be a positive experience, one that will help you stay organized and enjoy your space. 7. Put away + decorate. Once you have your items in their new proper home, take a step back and remember your ideal design you picked out before shopping. Ask yourself is anything missing? Keep in mind most rooms won't look as professional as photos you find online. If I think something is missing from a room (after a good declutter + organizing session), it normally because that space is lacking my personal style. This is when I add some of my favorite artwork and always a few plants. I hope you find this how-to helpful. And of course I would LOVE to see some before + after photos of your space.
Happy decluttering + organizing friend. xx Abby Cone Comments are closed.
|
AuthorHi again, it's Abby Cone. Here you will find: tricks & tips, products I love, DIY's, before + after and interviews. Categories
All
|
© 2024 Organizational Logistics LLC

